


Happy (almost) National Scrapbook Day! I LOVE NSD - what's better than a day dedicated to (most) of my favorite things... paper, dies, glue, sparkle and photos?!
And to celebrate this fantastic day, KPS is participating in the Lifestyle Studios Design Team Blog Hop! Can you say that 3 times fast? Take a gander at my project...

Since I'm on the Home Lifestyle Studios Team, I decided to make a fun, wall sign for my May Project. I know, I know, it's not a scrapbook layout, but I did use all of my papercrafting supplies for this project so it kind of counts, ya? And you could easily duplicate this idea on a scrapbook page... have I convinced you yet?

I started off by making my board. I plan to hang this above my fireplace, so I made the sign 2'x3', which will fit nicely in my little niche! After I cut and laid out all of my boards, I glued them together and then added brackets to the back to stablize it. More on this soon! I then stained the wood (okay, Big A stained it!) in a very pretty, grayish color named Driftwood.

Next, I started die cutting. I grabbed my Lifestyle Crafts 4x4 Feather Die and my the feather dies from my Lifestyle Crafts Feather Headband die because I knew I would need a range of sizes to create my large heart.
I fell in love with WeR's Inked Rose paper pack - everything about the paper, from the designs to the colors were exactly what I was looking for, so I picked out my papers and cut:
(2) sets of feathers from my 4x4 feather die
(2) small feathers from my feather headband die
(1) large feather from my feather headband
There were a few reasons that I cut more than one set - 1. I knew I wanted a large heart so I'd need a LOT of feathers and 2. I liked the pattern on both sides of the papers.
I also used the Embossed Sticker sheet from the Inked Rose Paper pack, a 12x12 sheet of WeR Gold Metallic paper, 2 round punches (7/8" and 1"), clear rhinestones, the Silhouette Cameo and Scrappy Glue.

Once I had all of feather die cut, I started by laying out my design. I made the outline of my heart with my feathers first, adjusting it as I went. I then started filling in the heart with the remaining feathers, gold circles and stickers. When I was happy with the way it all looked, I grabbed my Scrappy Glue and started gluing everything down. I added the rhinestones as I went, wherever I need a little filler or sparkle!
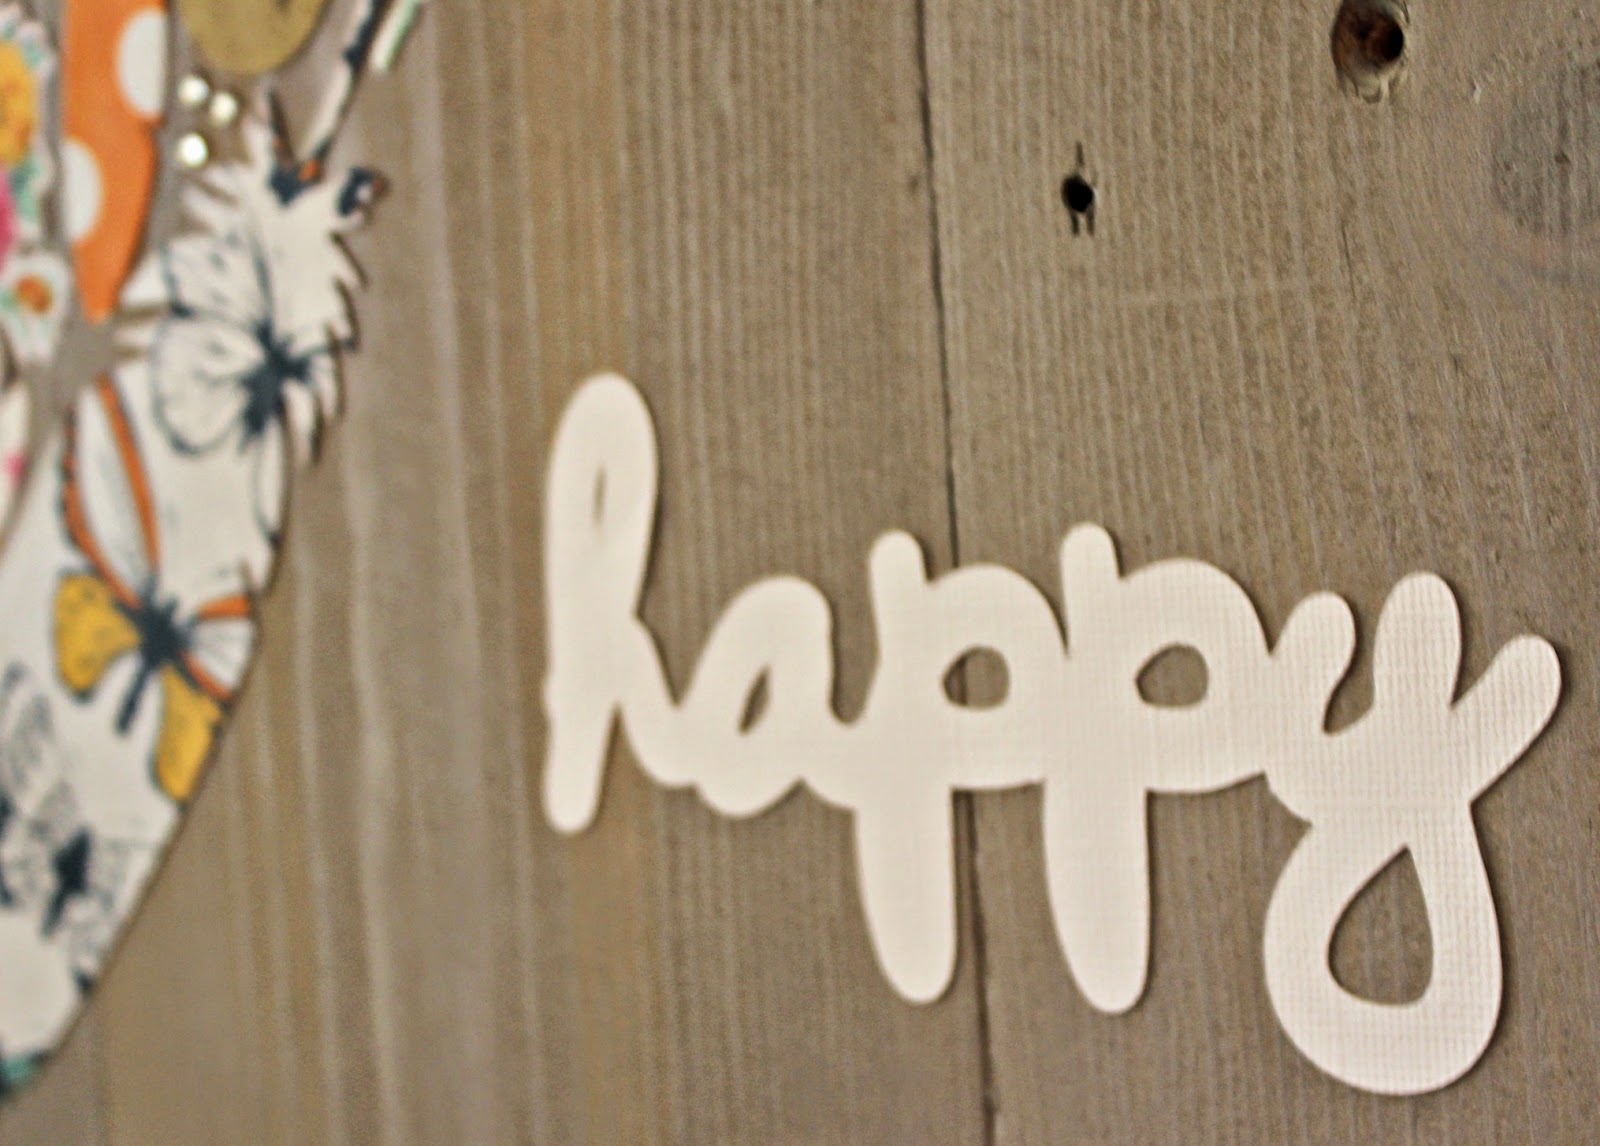
I asked my husband to pick 1 word that described our family and, as cliche as it may sound, he picked "happy" and I couldn't agree more, so I formatted and cut my "happy" phrase with my Silhouette Cameo from white cardstock and glued it to my sign. I will say that I'm a little unhappy with the size of the phrase, but it's glued down good so I just have to deal with it!

So that's it! My Scrappy Heart Wall Art! If you see any products here that you need (like the Inked Rose Paper pack - seriously, you guys! You must get it!), visit ShopWeR and use code KUTZPAPER to receive 20% off!

And if you'd like to keep getting inspired for NSD or any day, please check the other talented ladies on the Lifestyle Studios Design Team!
Aimee's Armoire
| |
Benzie Felt Fanare
| |
Cokie Pop Paper
| |
Cutesy Crafts
| |
Ginger Snap Crafts
| |
Gluesticks Blog
| |
Homework
| |
Missy Dear www.missy-dear.com
| |
Making the World Cuter
| |
Midwestern Girl
| |
One Scrappin Mama
| |
Popsicle Toes
| |
Pretty Providence
| |
Scrap Time
| |
Sew Craft Create
| |
Snapping Monsters
| |
The Creative Mom
| |
Tried and true
| |
Waffleflower
| |
We R Memory Keepers
| |
Worley House
|
And don't forget to enter WeR's NSD Giveaway to win this fun tote! And you can enter as many times as you want... and if you share with your friends, you get more chances to win!

I hope you have a wonderful weekend and that you celebrate NSD covered in glue, paper and dies!
Have a great day!
Andrea
so so fantastic! I love this idea!
ReplyDeleteSo so so pretty! I would hang this proudly in my home! Beautiful!!!
ReplyDeleteThanks so much, Maggie and Angela! And thanks for taking the time to leave a comment!
ReplyDeleteVery pretty!
ReplyDeleteWhat a super cute project!!!! I love that paper ;)
ReplyDelete