


It's Tutorial Thursday! So let's jump right in and get to being a warrior applique-er. Sure, that's a word. And a thing - warrior applique-er.

Little Warrior Appliqued Pillow Cover
Here's what you'll need:

1/8 yd (6) different colored cotton fabric
1/2 yd flesh colored cotton fabric
1/2 yd solid upholstery fabric
1 yd Pellon 725 double-sided, heavy duty Wonder-Under, iron-on adhesive
Coordinating Thread
Scissors and Rotary Cutter (if you have one)
Sewing Machine
Lifestyle Crafts Feather Headband Dies
Lifestyle Crafts Feather 4x4 Shaped Die
Evolution Die Cutting Machine
Camera
Printer
Your Little Warrior
Let's get started!
1.

Take a close up photo of your little warrior with a plain background behind him. Print 2 copies. Cut out your warriors silhouette from one copy - set aside. Draw a "band" on your warriors head and cut it out - set aside.
2.

Cut your Pellon adhesive into the following:
(5) 1/8 yd stripes
(1) square that will fit your warriors silhouette
(1) rectangle that will fit your band
Lay your adhesive sheet with the textured side face down on the back of your fabric (solid fabrics don't really have a back).
Place your iron on the adhesive and press for 5 seconds. Move to the next area and repeat until your fabric is completely bonded to the adhesive. Repeat for all your fabrics.
Leave your paper backing on your fabric, it will help with tracing and die cutting.
3.

Let's cut our your warriors silhouette now. Lay your silhouette face down on the paper backed adhesive and trace with a pencil or pen. Carefully cut the silhouette from the fabric backed adhesive and set aside.
4.

Repeat the same steps for the headband that you did for the silhouette. Set aside.
5.

Cut the adhesive backed fabric that you're using for your feathers into (2) 4"x4" squares and leave the rest the way it is.
Place you large feather from the headband set and the 4x4 feather die on your magnetic platform, cover with your fabric, place the cutting mat on top and run it through your Evolution. Repeat for all of your fabrics.
Viola.

6.

Grab your upholstery fabric that will end up being the front of your pillow, your silhouette, band and feathers.
7.

Lay out your design, trying to center it on your square. I used a clear ruler to do this, which helped tremendously. I also cut off the stems of my feathers - they weren't going to be seen on my design and I didn't want them to stick out from under the band.
8.

Peel off the paper backing of your head, band and feathers as you lay them down! I did this after I had everything placed and I was kicking myself!
9.

Once you get it exactly the way you want it - take a quick photo with your phone - trust me, it'll help in case anything gets moved on accident.
10.

Secure your design to the fabric with a straight pin.
12.

You can iron on your entire design at the same time or section by section, whichever is easiest for you. I ironed on my face, went back and pinned my feathers to my fabric and ironed, went back and pinned my band on and ironed but if you prefer, you can do it all at once.
13.


So I cut a small rectangle from the red fabric scrap and ironed that on as well. I could jave stopped there, made my pillow and called it good but then I wouldn't be me.
14.

You can totally skip this step, it's up to you! I grabbed my appliqued pillow front and sent into my sewing room. I threaded coordinating threat into my sewing machine and started edging all the different pieces. This was the most time consuming part of the process and only because I had to re-thread my machine for every color fabric I used!
15.

Here's the final result. I'm still thinking about adding a button to cover the hanging feather stems but I'm just not sure. Luckily I have plenty of time to figure it out!
16.
Let's assemble the actual pillow cover now. This is a super simple, envelope style pillow cover.
Cut down your appliqued front to 14"x14" - try to keep the appliqued warrior centered.
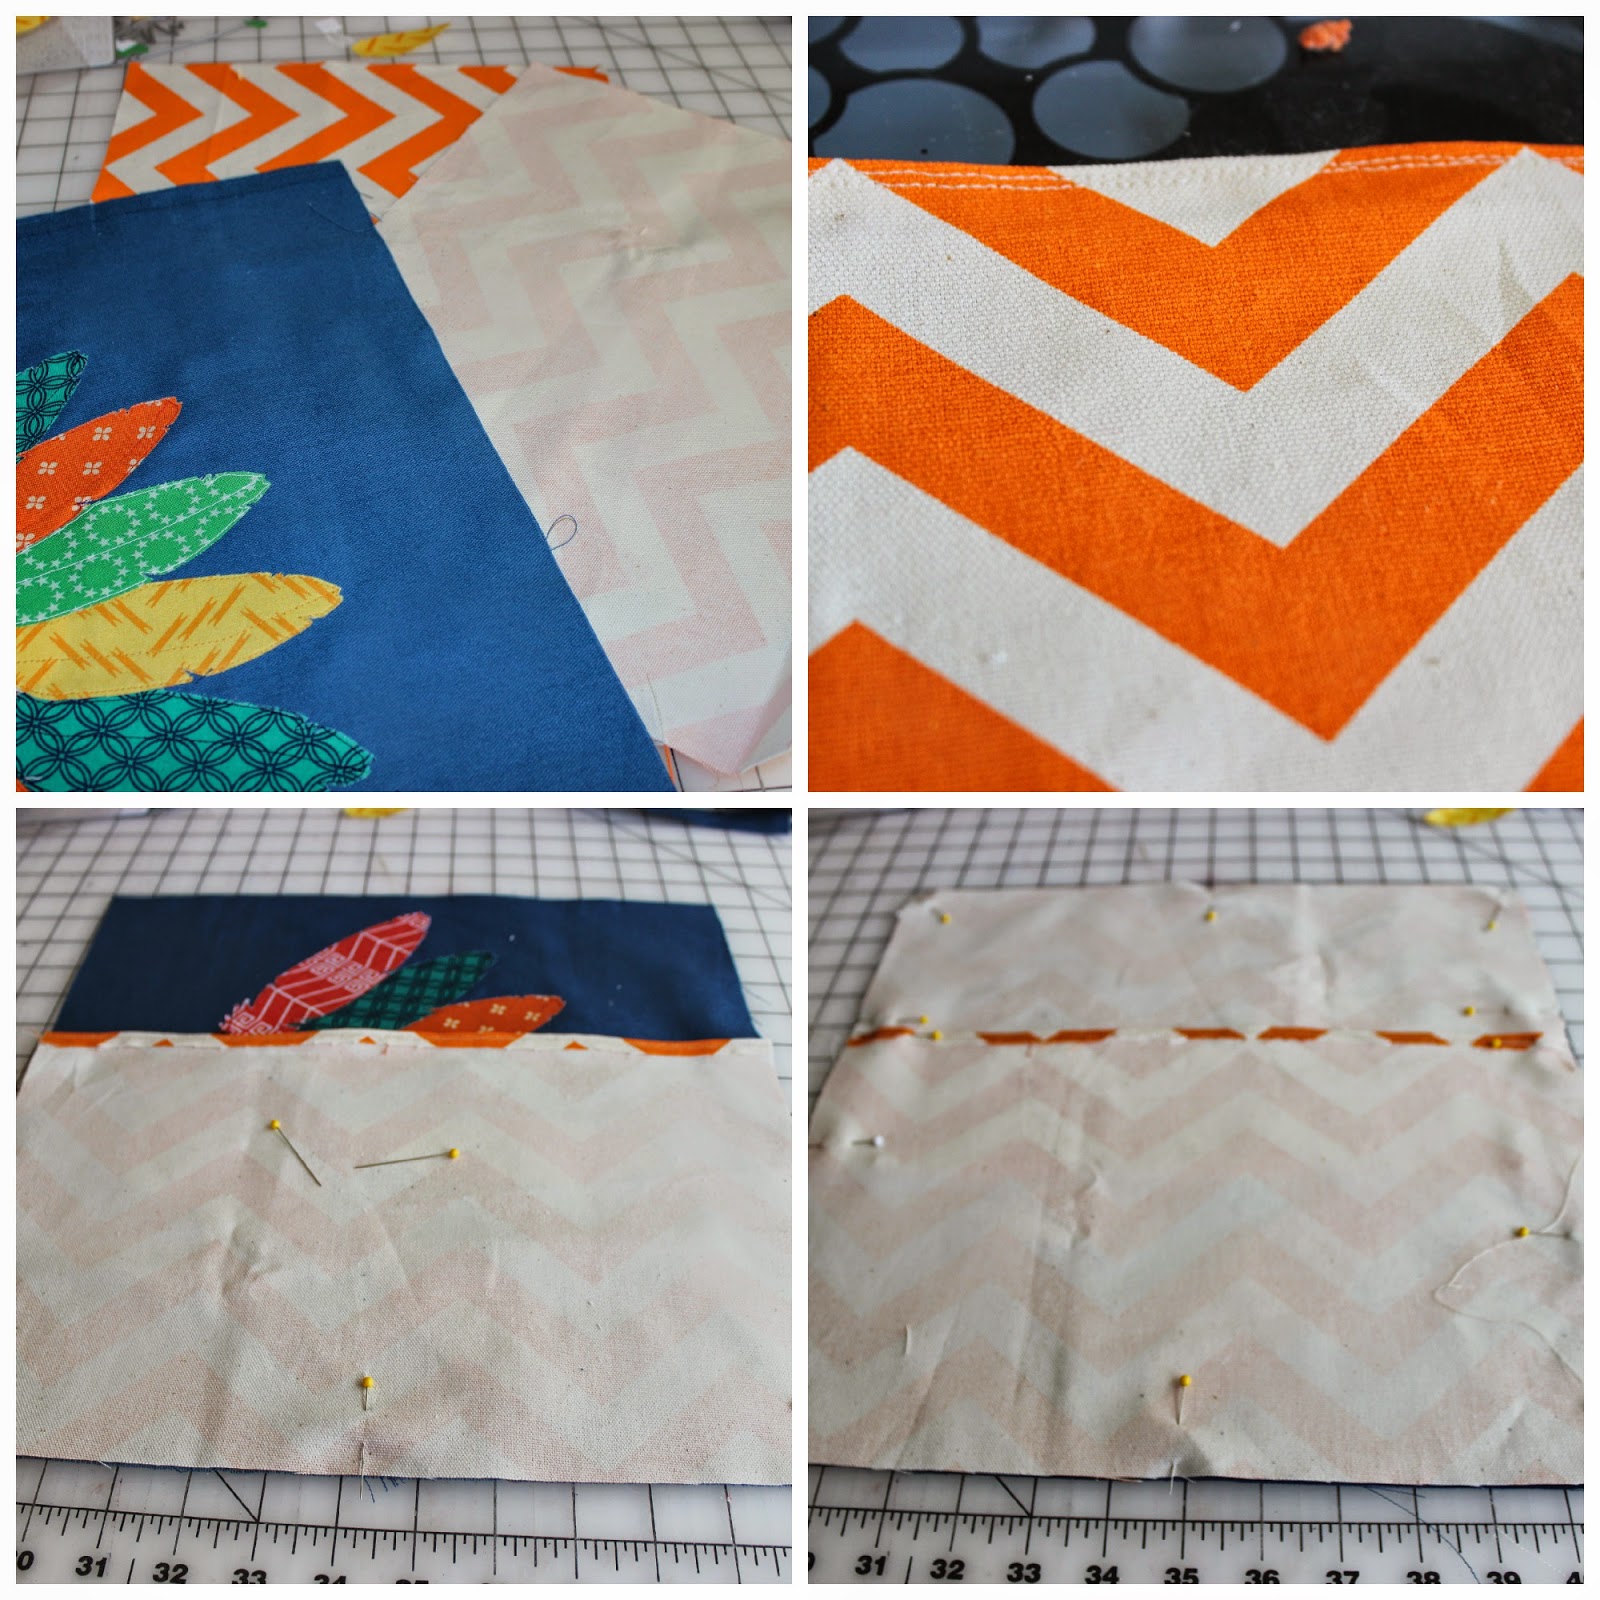
Cut your (2) back panels to be 9.5"x14".
Fold over the seams that will be where your envelope opening is. The fold will become your hem. You can do a double or single fold - depending on what you like. I prefer to double fold one and single fold the other.
Sew your hems on your panels.
Pin your double folded hemmed piece onto your front. Line up the bottom and side as best you can.
Pin your single folded hemmed piece to your front. Line up the bottom and sides as best you can.
Sew all the way around your cover. I prefer to do a straight stitch first, going over the corners and where the openings are twice. I then run my cover through my serger - all the way around!
Turn right side out, poke out corners with a chop stick or something sharp but not too sharp and iron.
Stuff with a pillow form and admire your Little Warrior. I prefer my pillows to be extra stuffed, so I typically stuff my covers with a size larger form. I used a 16" pillow form for my 14" cover.

I hope this was helpful! I really enjoy appliqueing - it intimidated me when I was first learning about it, but after trying it a few times, I realized that it's just normal sewing but with a design!
Please let me know if you have any questions on this! Or if you give it a shot and how it turns out for you!
Have a great day!
Andrea
ps - don't forget to enter the give-away for some fun WeR Washi Tape on yesterday's blog! Good Luck!
No comments:
Post a Comment