


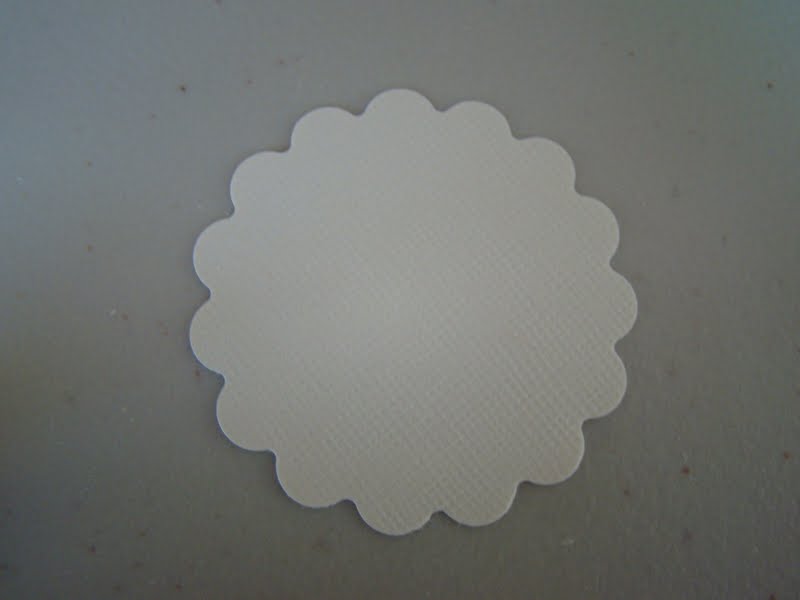
I use a 2 inch, scallop circle punch from Fiskars. You can use a scallop (Flower) die as well.

Punch out 1 scallop circle from your cardstock.
Ink the edges and cut about 2 yards of bakers twine for a 2 inch circle. You'll need more or less bakers twine depending on the size of your circle.

Tape 1 end of your baker's twine to the backside of your circle. I use Scotch Tape.

Start wrapping your twine in the "valleys" of each scallop. I typically skip 3-4 valleys before I wrap the twine into the next valley.

You'll continue this process, going from 1 valley to the next.

Make sure not to skip any, otherwise you'll get to the end and have to go back.

Do this on the whole circle. You'll know you're done when you start to overlap previous valleys. The size of your twine circle will depend on how many valleys you skip - if you skip more, your twine circle will be larger; if you skip less, your twine circle will be smaller.

Here it is! Simple simple! You can add a smaller circle of patterned paper in the center or a button...
You can add some dimension by popping it up too.

See how easy this was? And you can do all different sizes - as long as you have a scalloped circle or scalloped square, you can get totally wrapped up in this project!
Hope you have fun giving this fun technique a try! See you all tomorrow!
Andrea
No comments:
Post a Comment