


I know I've said this before, but I've really be enjoying using my Silhouette Cameo - I used it for the Back To School Party, for work and for everyday occasions like birthday cards! I had seen some really fun, interactive cards on the Silhouette Blog and, like any good student, got to work learning the tools so that I could make my own!
"Shake it Shake it
Shake
Shake it Shake it
Shake it like a Polaroid picture.. Oh ho"
Yes, OutKast and I have a love of Polaroid pictures in common. Well, maybe their song is less about Polaroid pictures than my card, but still - once again, a card makes a song repeat like it's on a loop in my head!

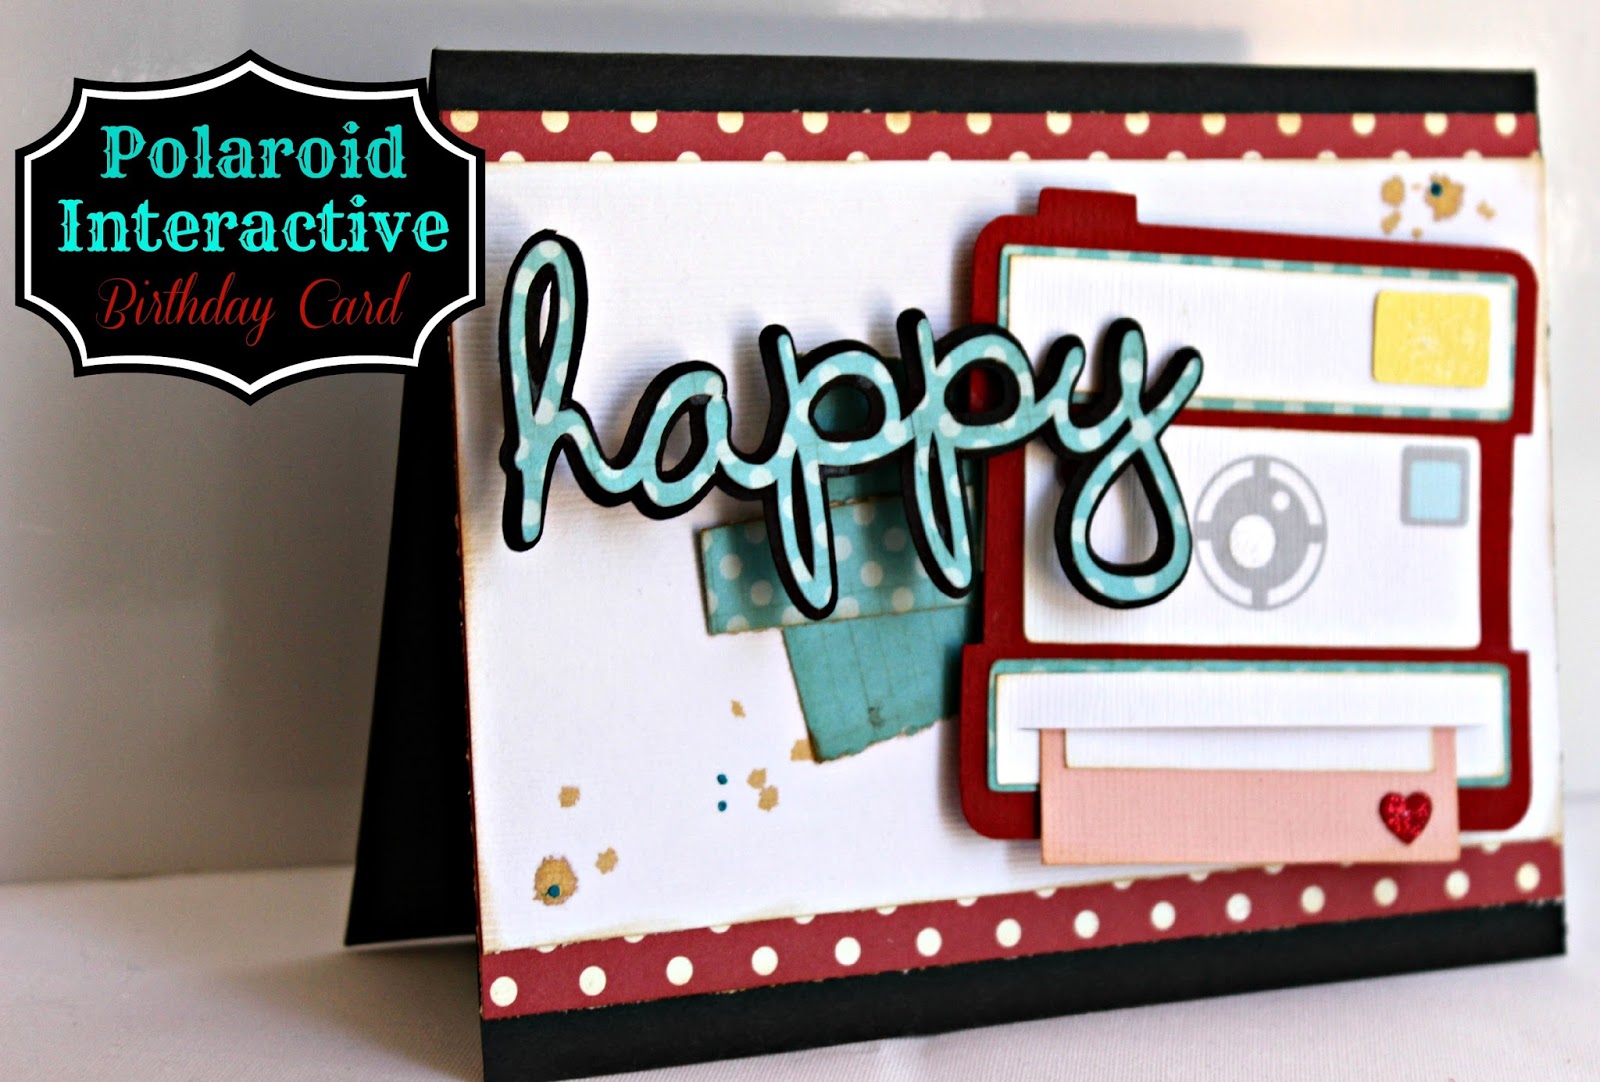
I formatted the entire card with my Silhouette software after watching the YouTube video - it was surprisingly easy! I also used my Offset tool for the "Happy" wording on the card so that I'd have a black background for the fun print. You may remember me talking about the offset button when I learned how to use this tool earlier this summer! I LOVE learning a tool and finding a constant use for it!
**CLICK!!**
Zoom.
Whirl.
ZZZzzzzzz

Pull on your Polaroid and wait to see how your photo develops...

A Polaroid of a cupcake! Yum.

Isnt' it cute? When I formatted the Polaroid camera, I made a slit where the photo would come out of my camera. The hardest/time consuming part was making sure that the slit lined up on each layer of the camera. I did turn the cupcake and some pieces on the camera into a print and cut for two reasons:
1. I was lazy and didn't want to mess with tiny pieces on the camera
2. I wanted the cupcake to look like a print since it's supposed to be a Polaroid!

There was a ton of dimensional tape used on this card. The camera had to be popped up so that you could pull the Polaroid out. The happy is popped up off the camera, so the "h" and "a" on happy have 2 layers of dimensional tape while the "y" only has one layer so that the word is level but still popped up.
Of course, I added glitter. glitter on the cherry. Glitter on the camera flash. Glitter on the camera lens. I added some brown, spray ink and tiny drops of blue from my Viva Pearl Pen for a little extra something... and because they did it in the sample on the Silhouette blog and I loved it!
I saved the formatted file so that I can easily make these cards for a variety of occasion's - just change the word and the picture and you're good to go!
I hope you enjoyed this fun card!
Have a great day!
Andrea
No comments:
Post a Comment